

NEW IN
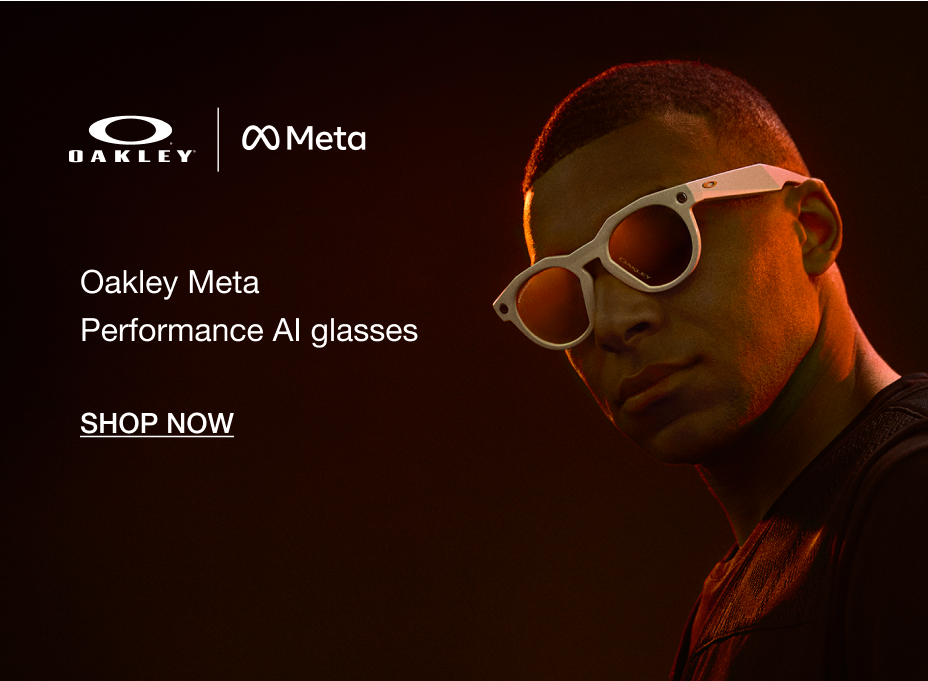
Oakley Meta
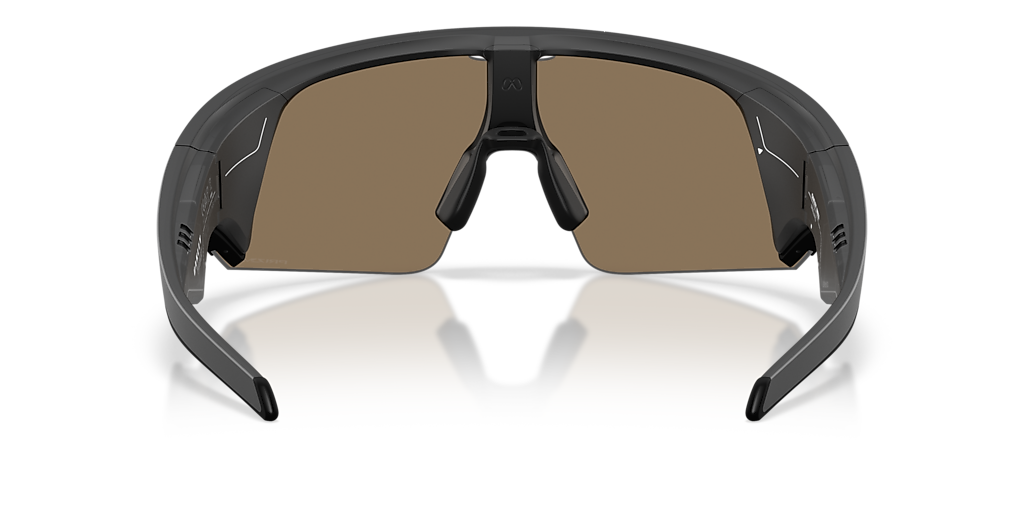
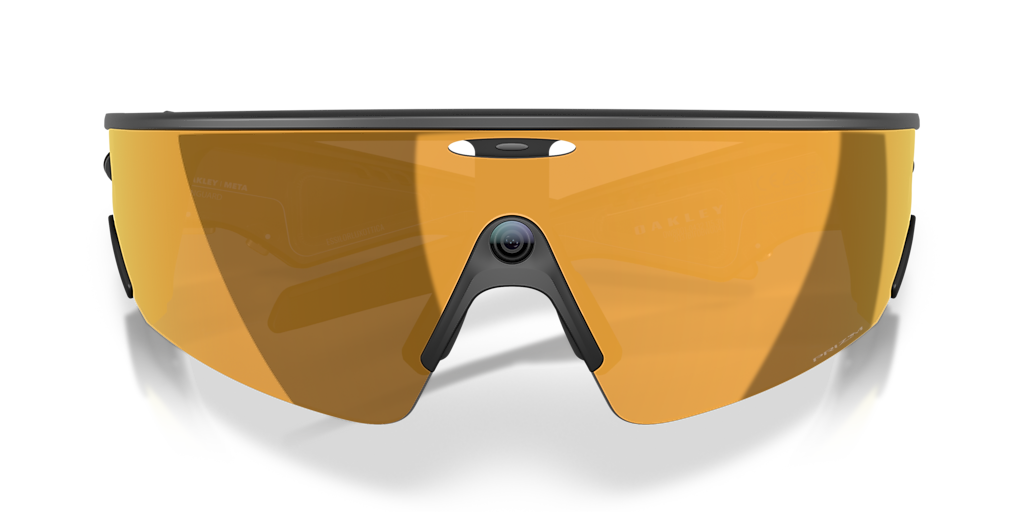
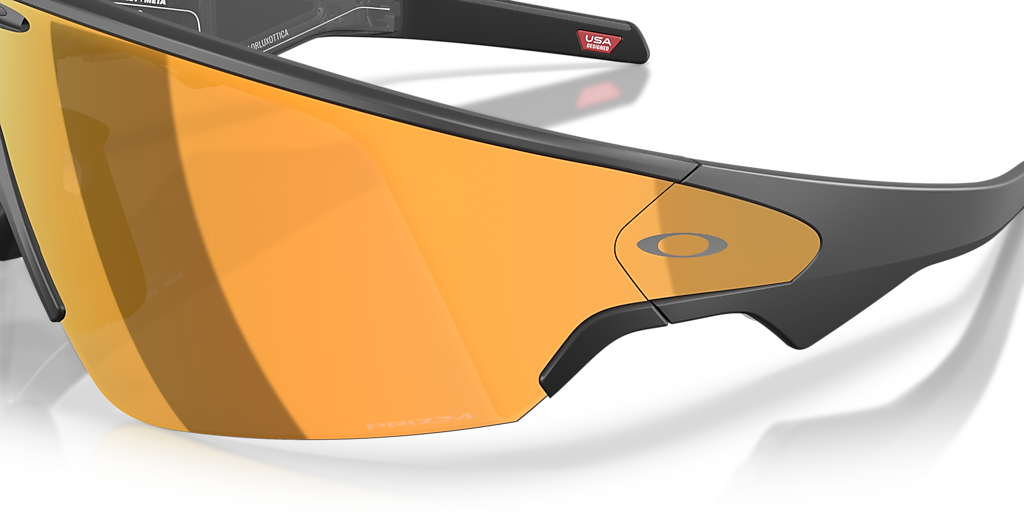
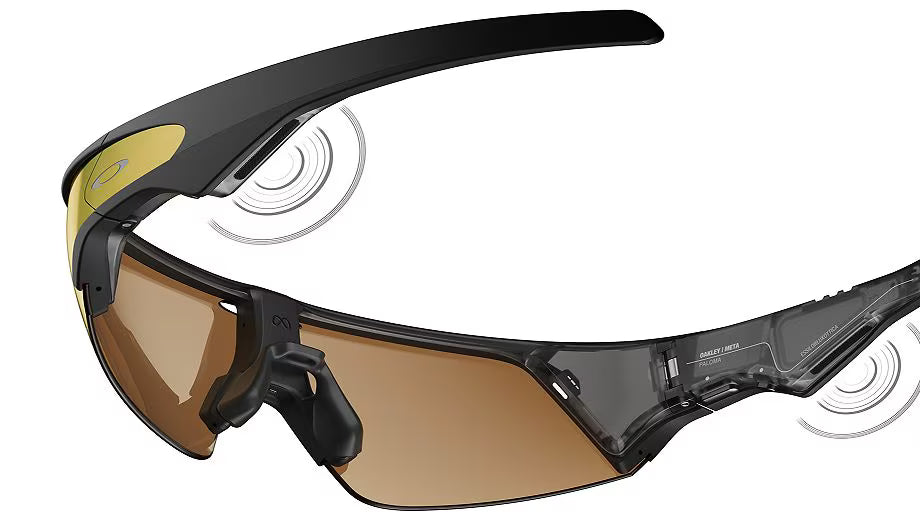
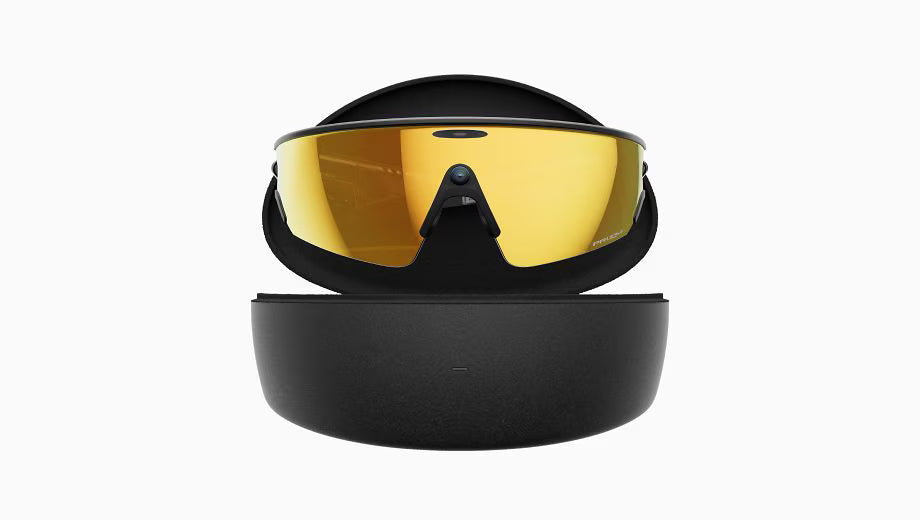
Built for athletes, the new performance frame is where advanced sport function meets immersive tech. Every detail is engineered with intention, from a redesigned shield lens that integrates seamlessly under helmets, to a durable frame that's sweatproof, waterproof, resistant to extreme temperatures, and built for activity. This is performance without compromise.

Features and technology
META AI
Meta AI unlocks next-level insights. Through integrations with Garmin and Strava, athletes can access real-time health data and performance metrics mid-activity, delivered by AI, personalized for them.
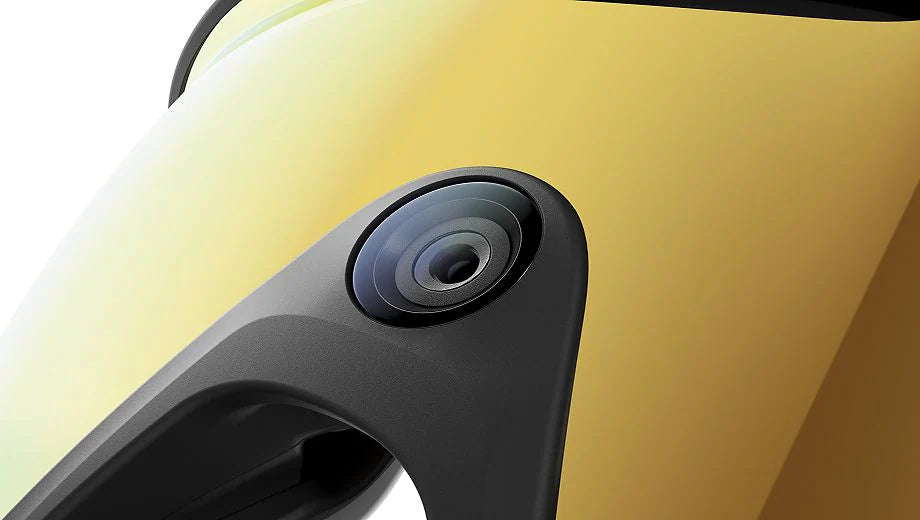
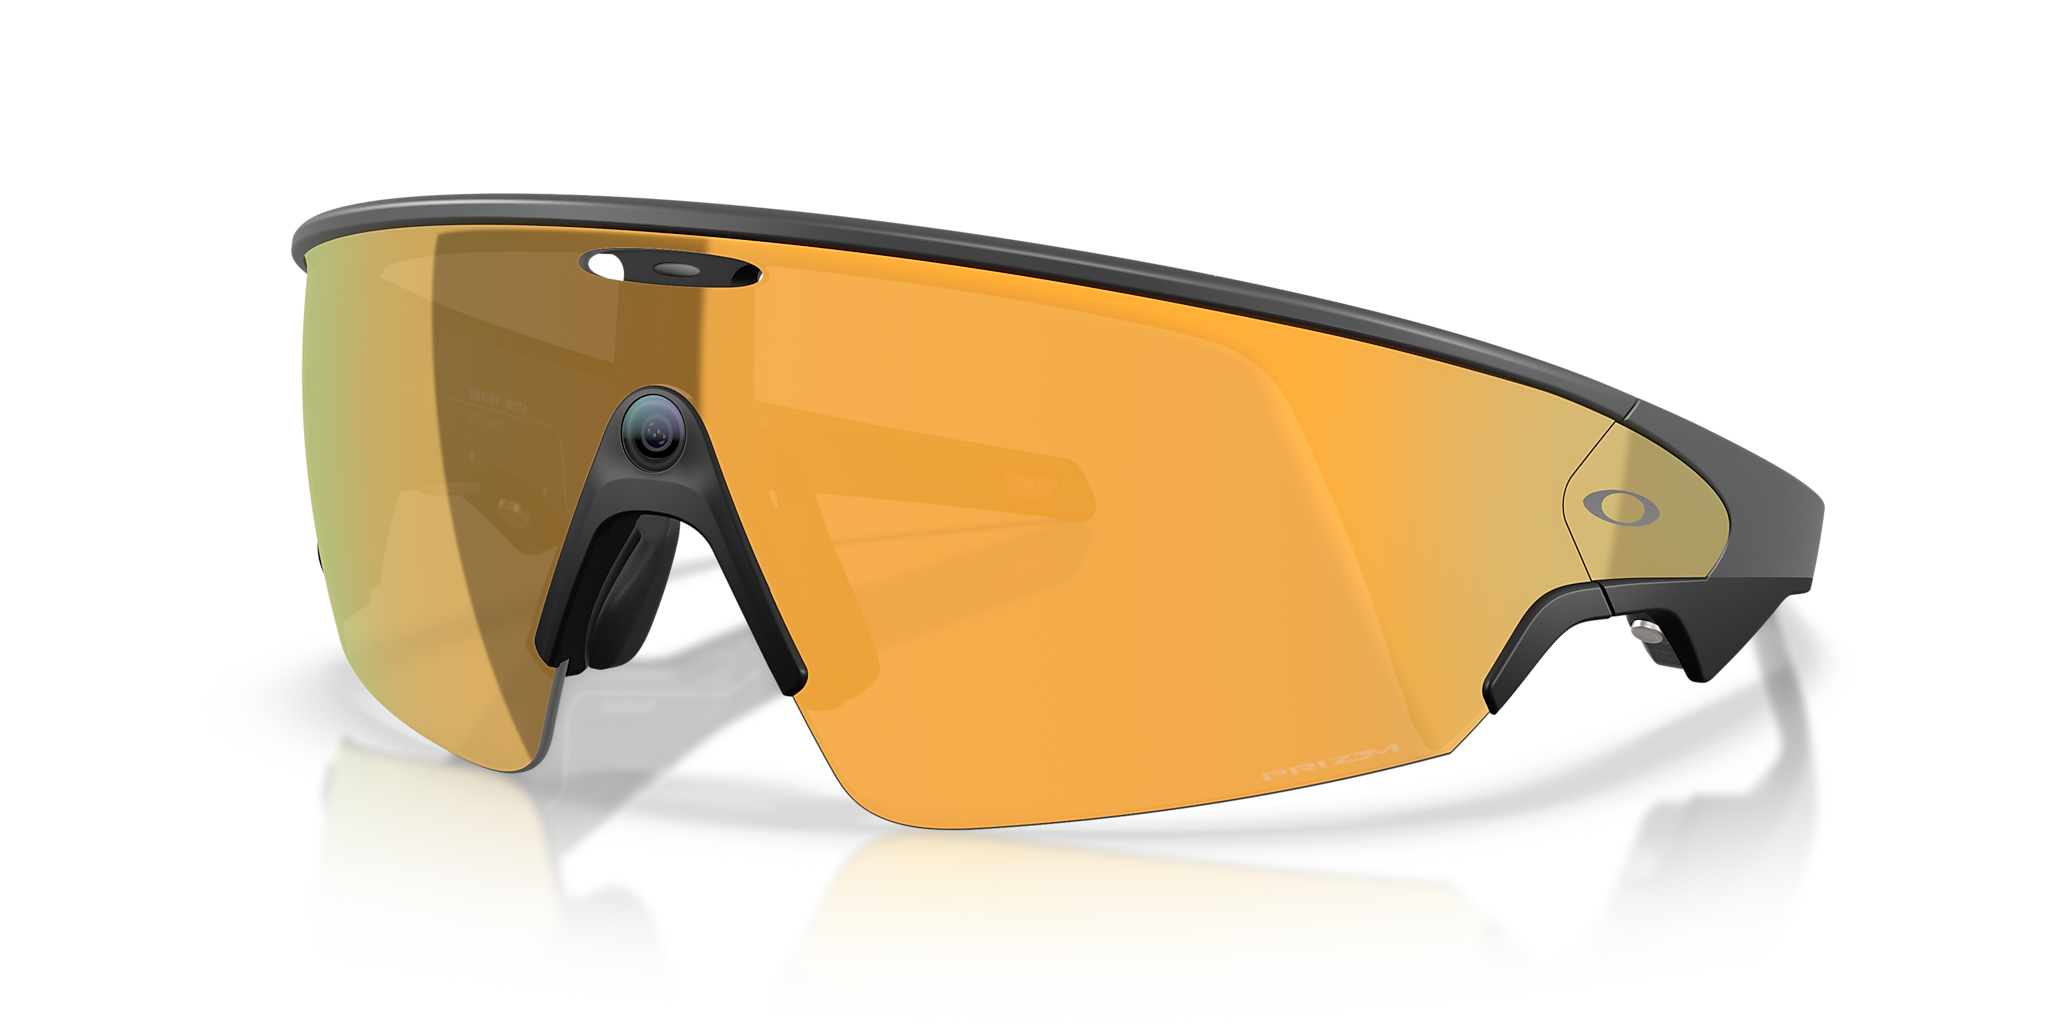
CAMERA
A centred brow-mounted camera delivers the most authentic point of view yet, with an expanded field of view and new capture modes like slow motion and hyperlapse so every moment of action is recorded, and shareable.
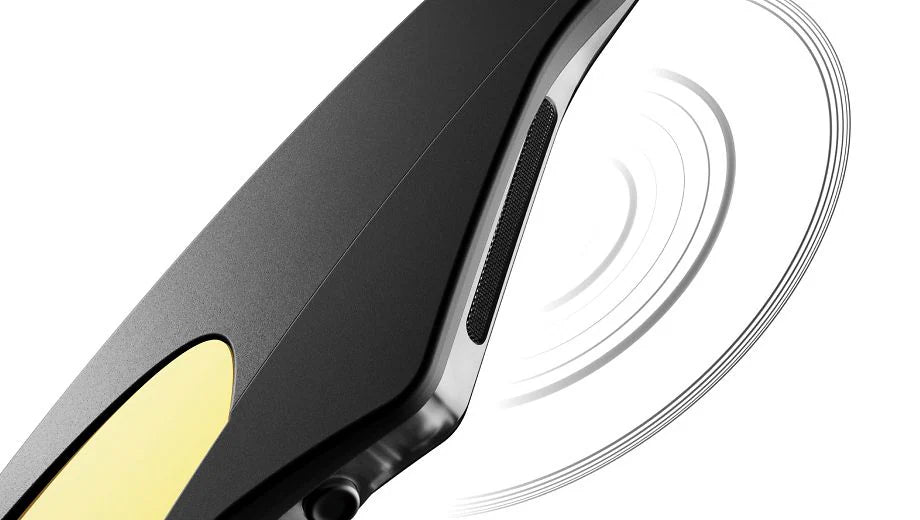
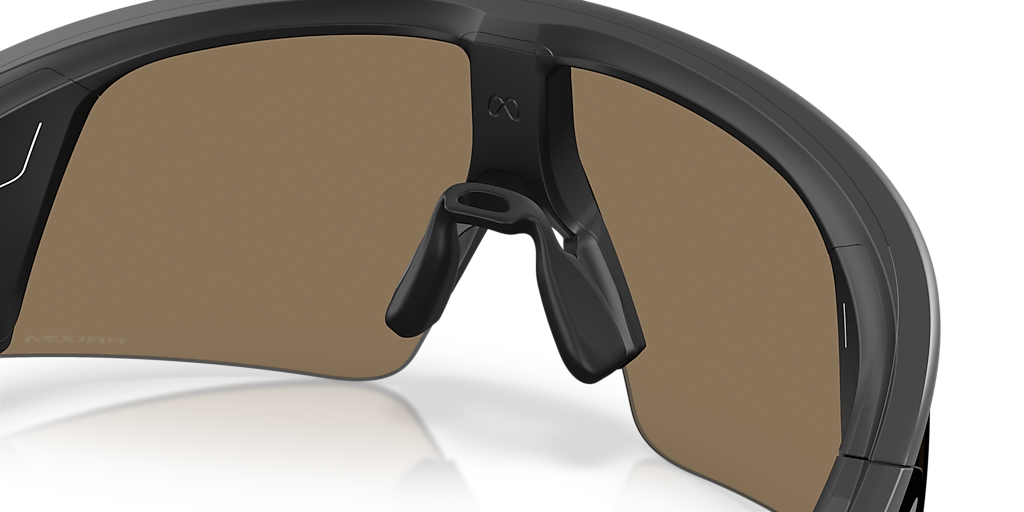
AUDIO
Open-ear audio allows users to listen to audio without blocking out the world around them for increased safety and awareness. Increased max volume (+6dB vs SN Max) for action-use cases. With updated port design to improve leakage performance.
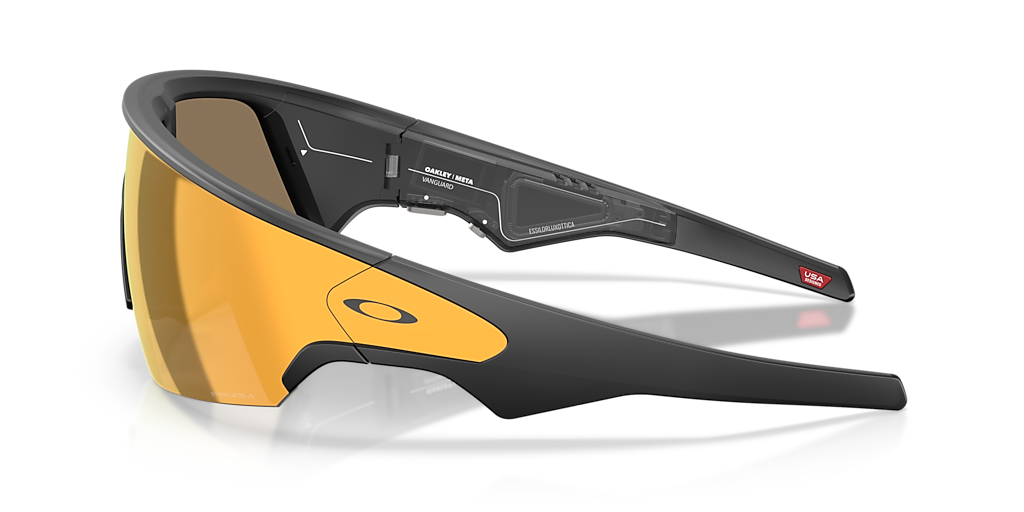
BATTERY
Get up to 6 hours continuous audio playback or voice calling on a single charge or 9 hours battery based on typical customer use (mixed use). You can carry the durable case in your sports bag so you can achieve an additional 36 hours of charging on the go.

WATERPROOF
IP67 rating - for water. Sweat resistant for durability, reliability and longevity. Designed for sun, snow, weather, dirt, and extreme temperatures.
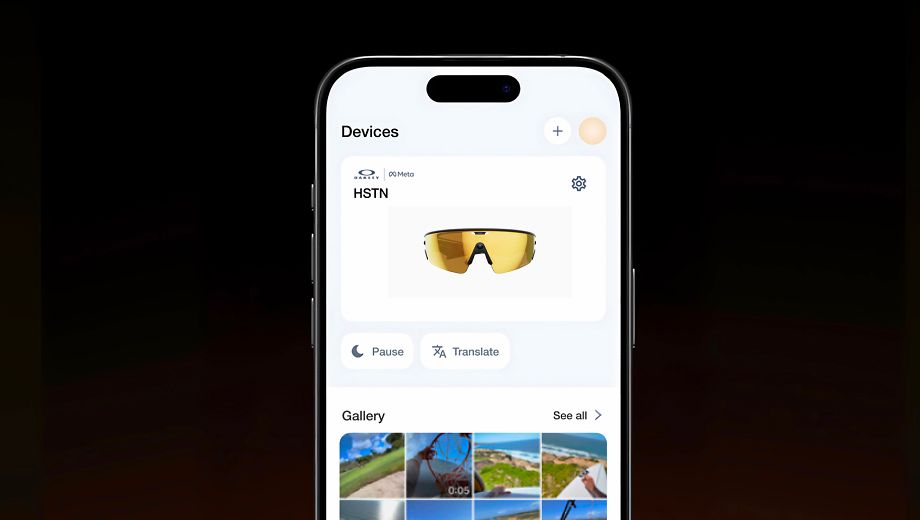
META AI APP
Set up and manage your glasses, import and share your photos and videos, learn about new features, and manage settings so your glasses are always up to date.
Frequently asked questions
To pair your glasses, open the Meta AI app and make sure you're logged in to your Meta account. If you already have glasses paired to the Meta AI app, go to Settings and tap the ""Add Device"" button on the top right. Then:
1. Select either Oakley Stories or Oakley Meta and proceed until you reach bluetooth pairing (bluetooth permissions must be granted) stage.
2. Make sure your glasses are turned on and placed in the case.
3. Press and hold the pairing button on the back of the case for 5 or more seconds. Release when the case LED pulses a blue light.
4. Your glasses should automatically appear in the app when they're ready to pair.
You can ask Meta AI questions about what you're looking at by saying "Hey Meta..." and then asking for more information about what you’re looking at. You can say "Hey Meta, look and..." to ask Meta AI to take a photo to use in its response.
You can also take a photo, either using your voice or by using the capture button, and within a few seconds say “Hey Meta…” to ask a question about the photo.
You could ask Meta AI for the English translation of a sign you’re looking at in Italian, for the name of a houseplant you’re looking at, or to write a funny caption for the photo you just took of a dog chasing its own tail. There are lots of things Meta AI can do, and we’re working on expanding that list over time.
How does it work?
When you ask Meta AI questions about what you’re looking at, your glasses will send a photo to Meta’s cloud to be processed with AI. After processing, Meta AI will deliver an audio response on your glasses, and you will be able to review your request, the image, and the response in Meta AI.
All photos processed with AI are stored and used to improve Meta products, and will be used to train Meta’s AI with help from trained reviewers. Processing with AI includes the contents of your photos, like objects and text. This information will be collected, used, and retained in accordance with Meta’s Privacy Policy.
To turn on this feature:
1. From the Meta AI app, tap the gear symbol in the bottom right.
2. Swipe down and tap Meta AI, or select the device you want to manage settings for then tap Meta AI.
3. Tap the toggles next to Meta AI and Camera use to turn this feature on.
4. Follow the on-screen prompts to turn on any necessary features if they’re not already enabled.
How to ask Meta AI about what you see
Here’s just a few examples of what you can do when using your camera with Meta AI.
- Ask about the world around you -
"Hey Meta, describe what I'm seeing."
"Hey Meta, tell me about this monument."
"Hey Meta, translate this text into English."
"Hey Meta, summarize this."
- Take actions on text around you -
You can point at text and say things like:
“Hey Meta, call this phone number.”
“Hey Meta, message this phone number.”
“Hey Meta, scan this QR code.”
- Get gardening tips -
"Hey Meta, how much water do these flowers need?"
- Express yourself -
"Hey Meta, describe this landscape in an inspiring way."
"Hey Meta, write a funny poem about this dog."
Keep in mind, you can also take a picture, either by voice or by using the capture button, and within a few seconds say "Hey Meta…" to ask questions about the world around you.
Your Oakley Meta glasses come with the following accessories and user manuals:
- Charging case
- Quick Start Guide
- Safety & Warranty Guide (also downloadablehere)
- Instructions for ordering Prescription lenses
- Cleaning cloth
You need a Meta account to log in to the Meta AI App. Both new and existing users have the option to create a new Meta account, or log in with an existing one. You can create a new account using email, Facebook or Instagram logins. When setting up an account, you'll be asked to provide basic information such as name, birthday and email address.
To clean your glasses, use a dampened cloth and mild soap, avoiding all types of solvents or alcohol. Don't use dirty or abrasive cloths which could alter the features of the lenses. Don't hold your glasses under running water. Gently clean the lenses, camera lens, and the nose bridge charging contacts. Dry off the glasses before putting them back inside the charging case or wearing them.
To operate Oakley Meta glasses you need to connect your glasses with a smart phone and the Meta AI app. Here’s the complete checklist:
- Smart phone with a recently released operating system: Android 10 and above (with location services enabled) or iOS 14.4 and above. See complete list of supported phoneshere- Wireless internet access
- USB-C charging plug (if charging from a power outlet and not directly from a USB point)
- A valid Meta account
- Meta AI app (downloadable from your App storehere orhereby scanning this QR code).
Pair your glasses with your Garmin device to automatically capture footage based on your performance metrics during an activity (distance, speed, elevation, and heart rate). Post-activity you get a highlight video from the capture session.
The glasses use real-time smart triggers that are based on your performance metrics like: distance, speed, elevation, and heart rate. Autocapture uses smart-triggering and compilation to ensure you get the right amount of captures for both short and long activities. Because of this you cannot choose your own stats to capture.
You can also take your own photos or videos during autocapture, these will get stitched together in the highlight video as well.
You can also take your own photos or videos at any point in time during autocapture; these will also get added into the highlight video created.
Autocapture supports the following Garmin activity types:
1. Walks
a. Hike
b. Walk
2. Runs
a. Indoor Track
b. Run
c. Track Run
d. Trail Run
e. Ultra Run
3. Bike rides
a. Bike
b. Bike Commute
c. Bike Tour
d. Cyclocross
*To enable autocapture, a user must have a compatible Garmin device and have the Meta AI ConnectIQ app downloaded to that device. Most newer Garmin smartwatches and bike computers are supported.
Follow the steps below to set up autocapture with Garmin:
1. Set up Garmin
a. In glasses settings, go to ‘Connected apps’, ‘Garmin’, then follow instructions on screen.
2. Set up autocapture
a. Make sure you have the following permissions enabled under glasses settings > privacy.
i. Cloud media: Glasses settings > Privacy
ii. Meta AI: Glasses settings
b. In glasses settings, go to ‘Media’ then ‘Autocapture’ and choose whether you would like autocapture to start when your Garmin activity tracking starts.
Follow the steps below to turn on autocapture:
Make sure Garmin is connected in settings. You can begin an autocapture two ways:
1. Say “Hey Meta, start autocapture.”
2. If you have “on during Garmin activities” setting on: autocapture will start when you Garmin activity starts
When you start your activity, ensure your activity is synced to Garmin Connect app; you may need to go to Garmin Connect app and manually sync the activity. Once this is done, you should see your activity under the ‘Workouts’ section on the glasses tab of the Meta AI app. If it is not showing here, you can pull to refresh.
If your Garmin activity is showing under ‘Workouts’, in Meta AI app, then you should be able to see the stats on media taken during the activity.
LEARN MORE
- The glasses camera is only on when capture is actively happening. You will hear a sound and see the LED turn on when capture is happening, similar to how capture works outside of autocapture.
- Autocapture battery life varies depending on factors such as weather, if you’re listening to music, and how often you take your own photos/videosYou’ll hear alerts periodically letting you know when your battery is getting lower.
- You can continue to interact with Meta AI and listen to music during autocapture. Certain features, like Live Translation, will require ending autocapture to use.
- Your workout data is shared via account linking between your Meta and Garmin Connect accounts. The data is encrypted and will be deleted whenever the accounts are disconnected.